Sunday, September 9, 2012

WIP Week 36

Heyho,


just a small update of the projects we are working one. Playing more boardgames lately I am more interested to continue with my

tabletop miniatures at the moment. Alex on the other hand finished his Olfo and started to work on his female Spartan figure. Marc tested my new airbrush booth Wiltec 420. I will write a review of the spray booth in the near future.

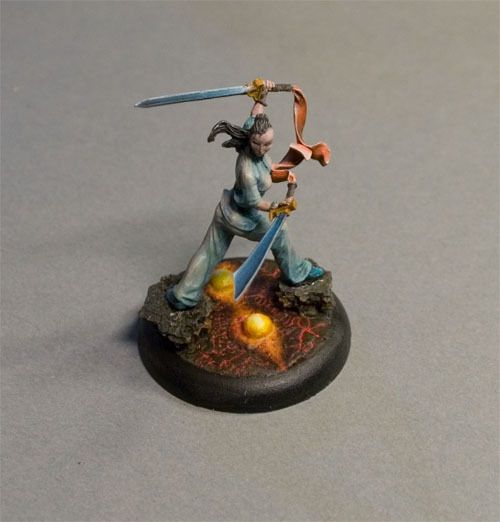
Let's start with the Blade Master from Helldorado (Cipher Studios) which is the first miniature of my Immortals army.


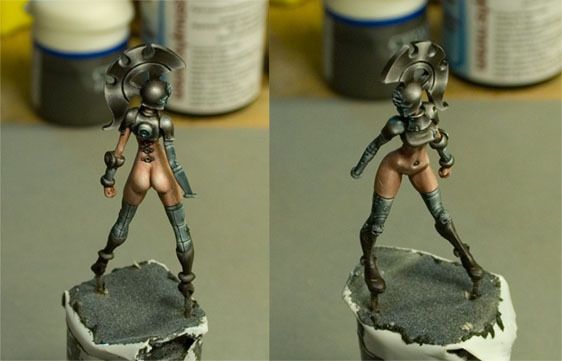
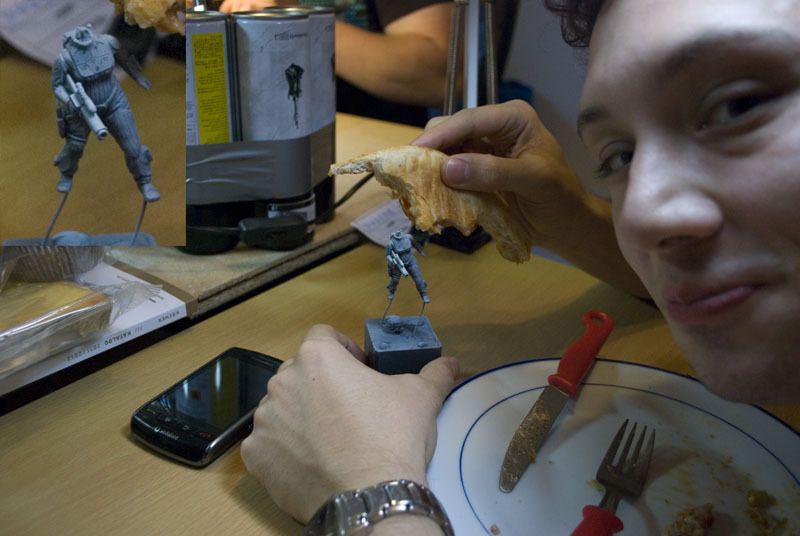
And here we have the female Spartan warrior Alex is working on - hot :D.


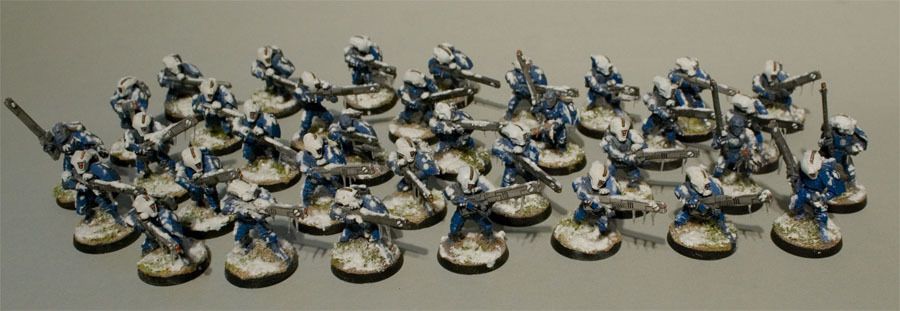
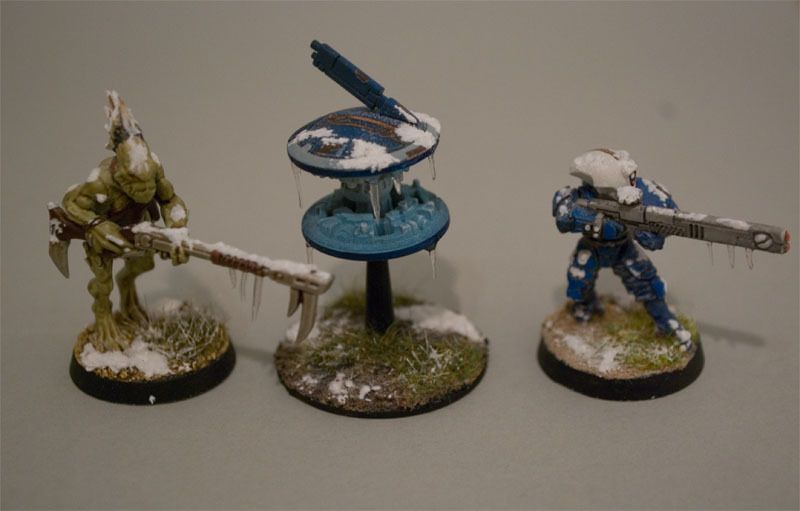
I have also finished my snow covored TAU fire warriors


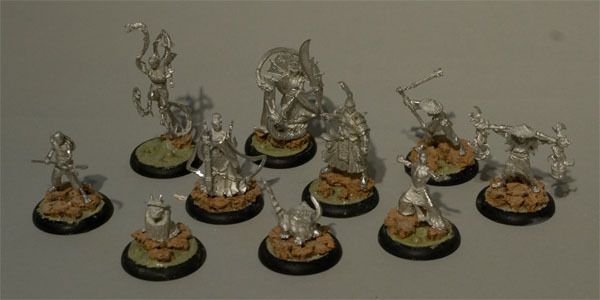
and the bases of the rest of my Helldorado Immortals army - ready to be painted.


Regards,

Grumbler
Read more...

Thursday, August 23, 2012

Using real spiders

Heyho,


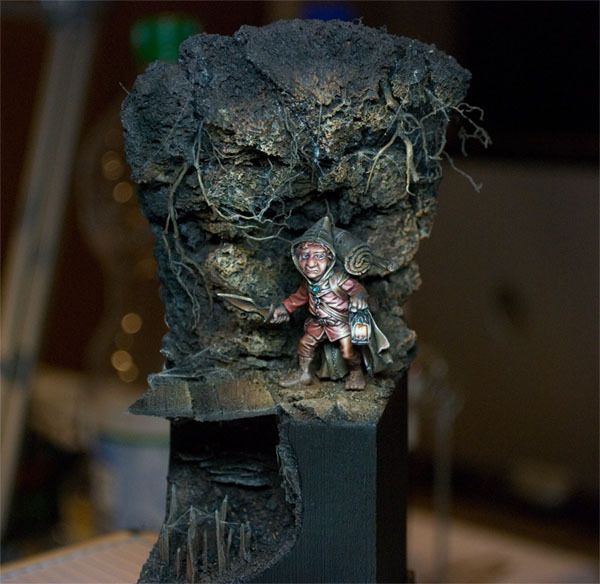
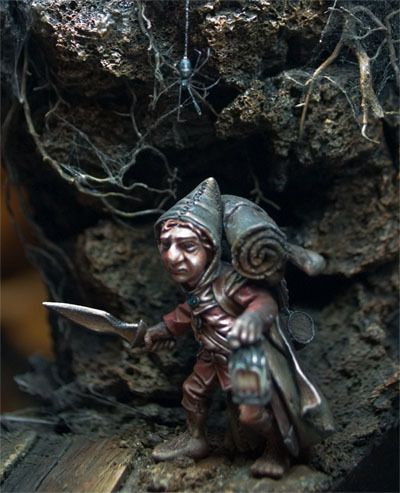
Alex is still working on the base for his Olfo and we thought a little spider is missing to complete the scene. As it turned out nature is still the best modeler...

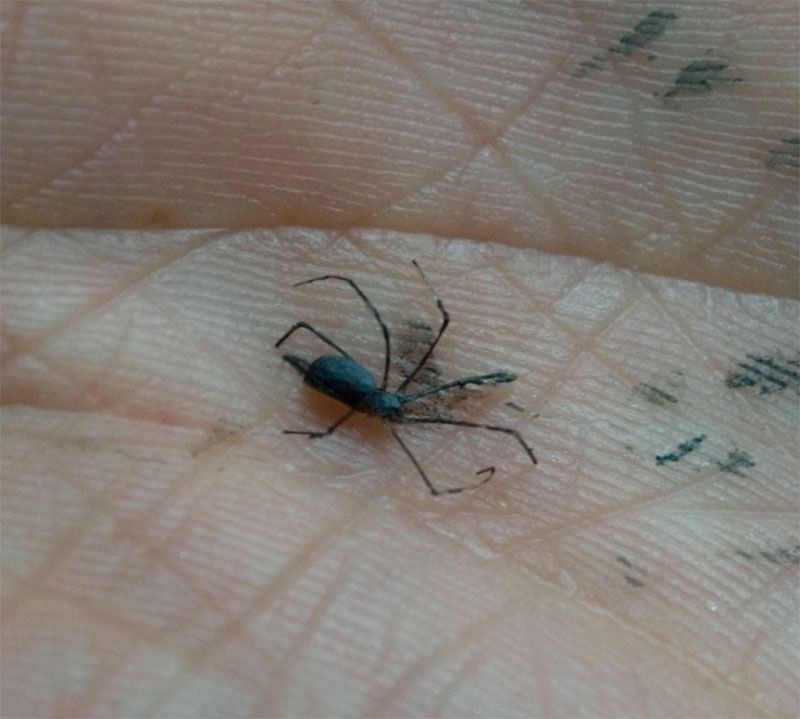
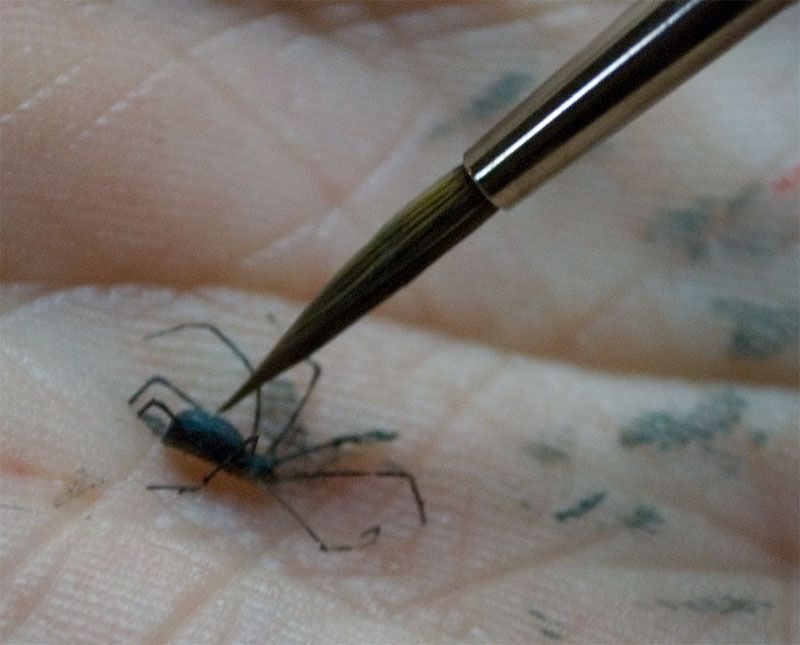
Maybe you have seen several tutorials creating spider webs e.g. the great tutorial from massivevoodoo.com using crackle medium. Alex took a more pragmatic way and just used real spider webs and attached them to his base. Real spider webs are ultra-thin and ultra-durable and most people have them as a near endless resource ;-). On this base we wanted to go a step further. The idea of a little spider hanging over Olfos head was born and we thought about using one of the little spiders produced by GW. Unfortunatly those spiders are too big and look like a plastic toy. Therefore we decided to use a small REAL spider:


Alex primed the spider with Dark Sea Blue from Vallejo which is one of our favorite colors today (regards to Ben Komets!) which turned out to be really fiddly.


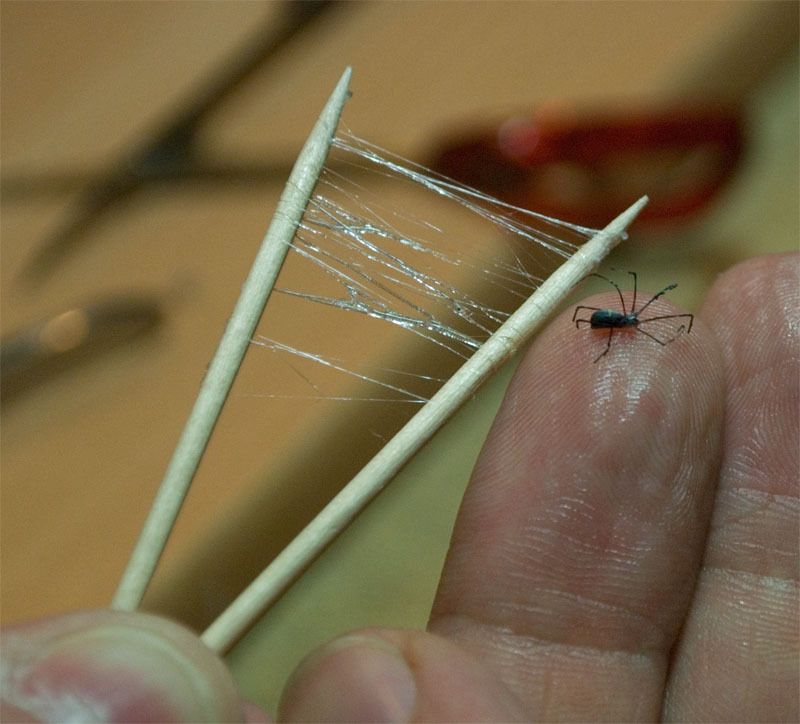
We created some glue strings to attach the spider to the base using UHU Flinke Flasche (german brand) as those strings look a little bit more fresh than old spider webs.


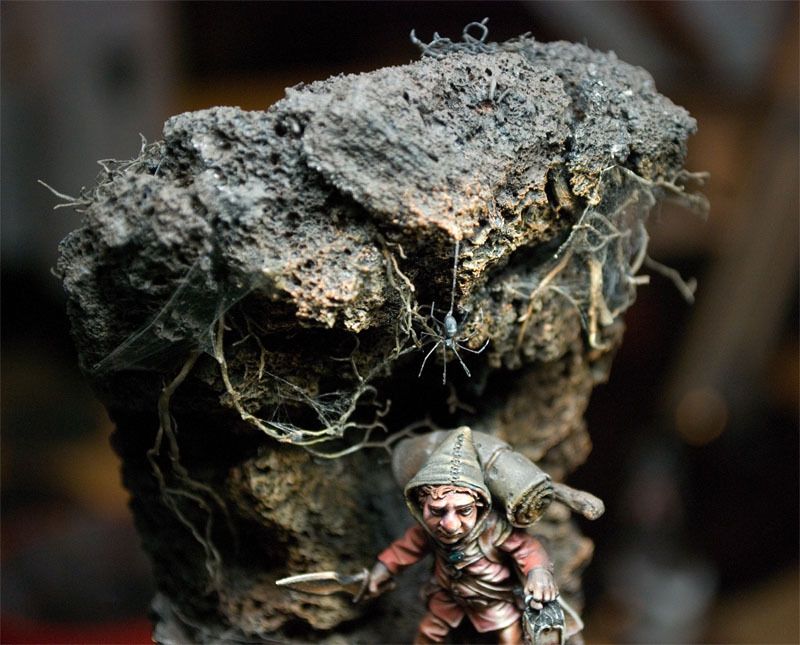
Alex attached the spider to the base directly over Olfos head.


And here we have the final result of the arachno-tutorial.


If you want to see more of Alex fantastic miniatures then go to his coolminiornot.com album and ultimately give him some ratings of 10 :-).

Regards,

Grumbler
Read more...

Friday, August 17, 2012

WIP-Week 33

Heyho,


as we do regular painting sessions in my basement I decided to show you not only things from myself but stuff done by my buddies. So, here we go...
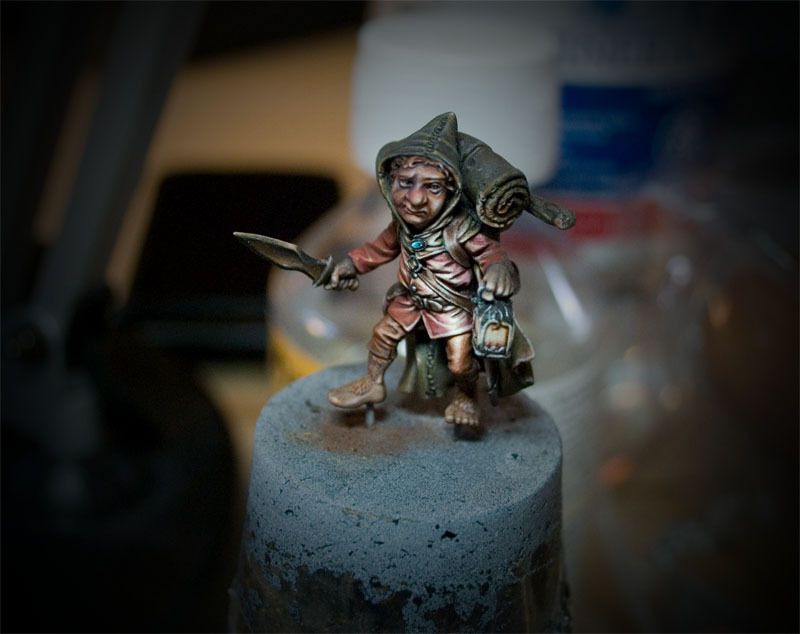
A gnom Alex is working on at the moment


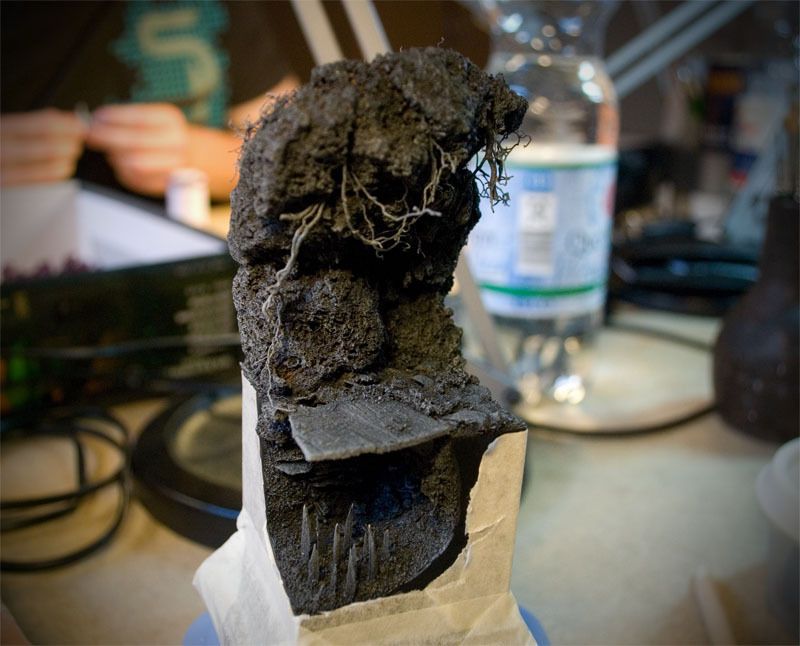
and the corresponding base:


Klaus started a new miniature (top secret manufacturer ;-))after he got a final pin at the Games Day with his duell (I have no picture of the duell at hand...):


Finally we have some necrons that Marc is working on. They are in a really early stage though.


Regards,

Grumbler
Read more...

Sunday, August 12, 2012

Creating icicles

Heyho,


it is true I have not posted for month (or even years?) now. I got two children, finished my PhD-thesis, started a new job and bought a house. I think those are a valid number of excuses :-). But here we go again and I hope I have the opportunity to re-enter the realms of miniatures, brushes and lots of paints.

To get into it I selected my old TAU-force and thought about how to overhaul them that is give them the BÄM!-effect (invented and copyrighted to massivevoodoo.com all rights reserved).

Battle damage? Ok, ok for sure they will get some battle damage but lets go a little step further. Their color scheme calls for a winter scheme and therefore I thought it would be best to add snow and icicles to all of them (a lot of snow and icicles). Even so much snow and icicles that it would eventually not make sense at all but looks cool at least.

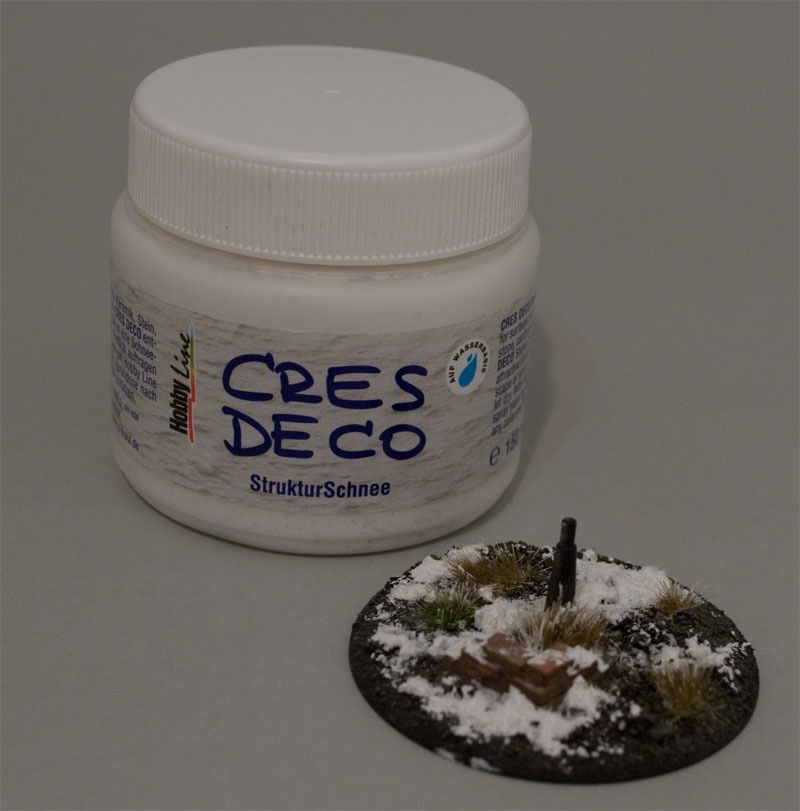
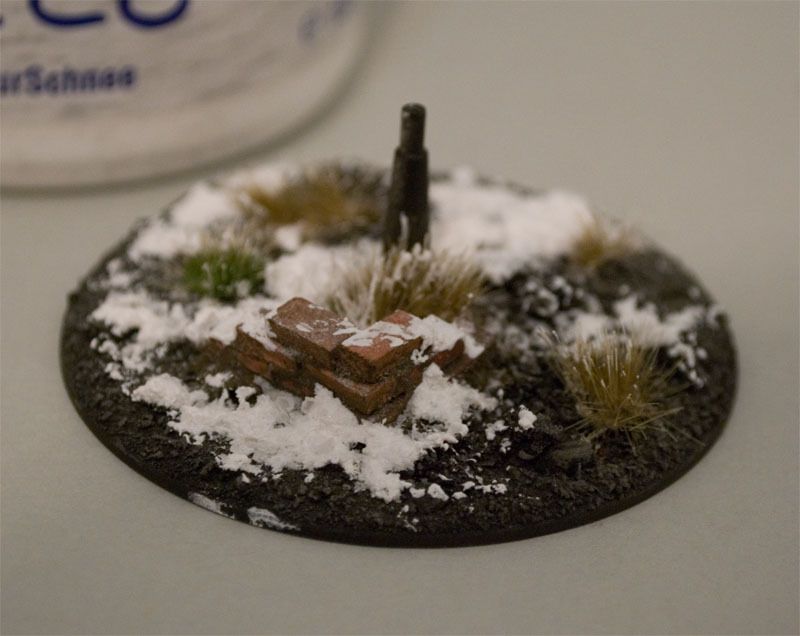
Ok, we have done snow in the past using wood glue and crushed glass. Here I additionally used snow paste and combined it with the crushed glass. I got the snow paste from my local hardware store (even bought two different products) which seemed to be more or less the same that is a grained white paste that dries out with a very matt finish.


Lets zoom to that base. I think it looks really cool although the images do not show the glitter effect of the glass very well.


Massivevoodoo has a god-like Imperial Sentinel which shows the use of icicles in perfection (post with sentinel). Oh lord I need that too and not only on one vehicle but every trooper and tank I have in my whole army. Unfortunately I was not able to get any acrylic glass rods (Plexi Glas in Germany) at my hardware store or local hobby stores.

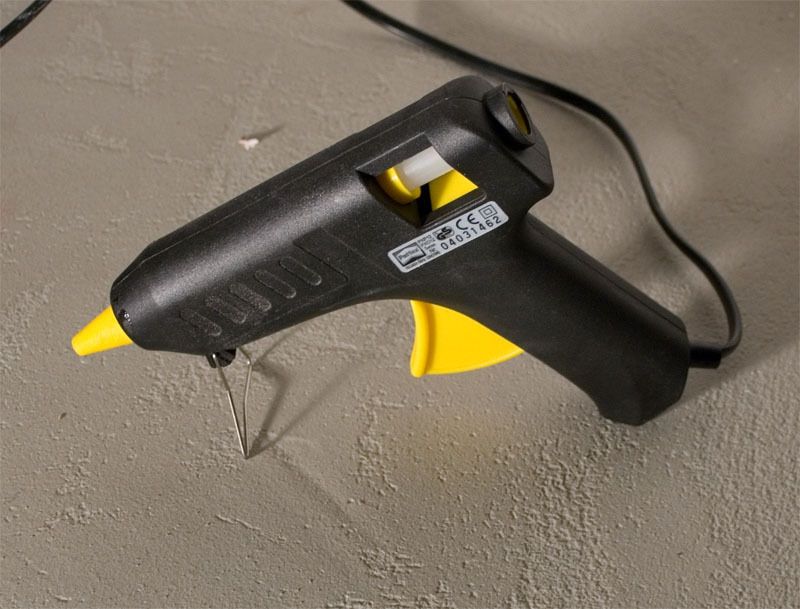
Therefore I used the poor mans alternative that is a hot glue pistol


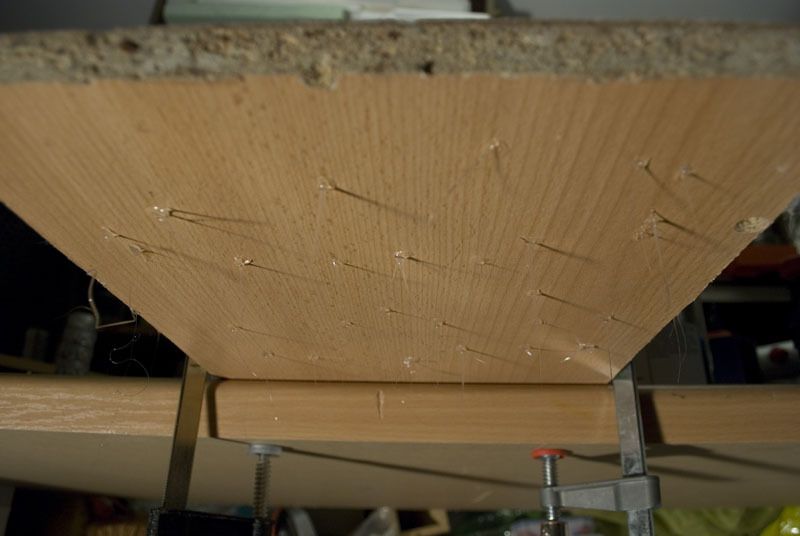
I fixed a board to my work bench and applied the hot glue from below to the board. I slowly applied a dot and pulled the glue downwards moving up again to apply the next dot and so forth.


The glue dries really fast and you can remove the icicles after a few minutes and cut them to your needs.


I hope this is a worthy comeback to the hobby. Have fun with your hot glue pistol. I will post a review of the acrylic glas method as proposed by Roman (Massivevoodoo icicles tut) as soon as I get some Plexi Glas :-).

Regards,

Grumbler
Read more...

Sunday, July 25, 2010

Speedy Crisis

Heyho,


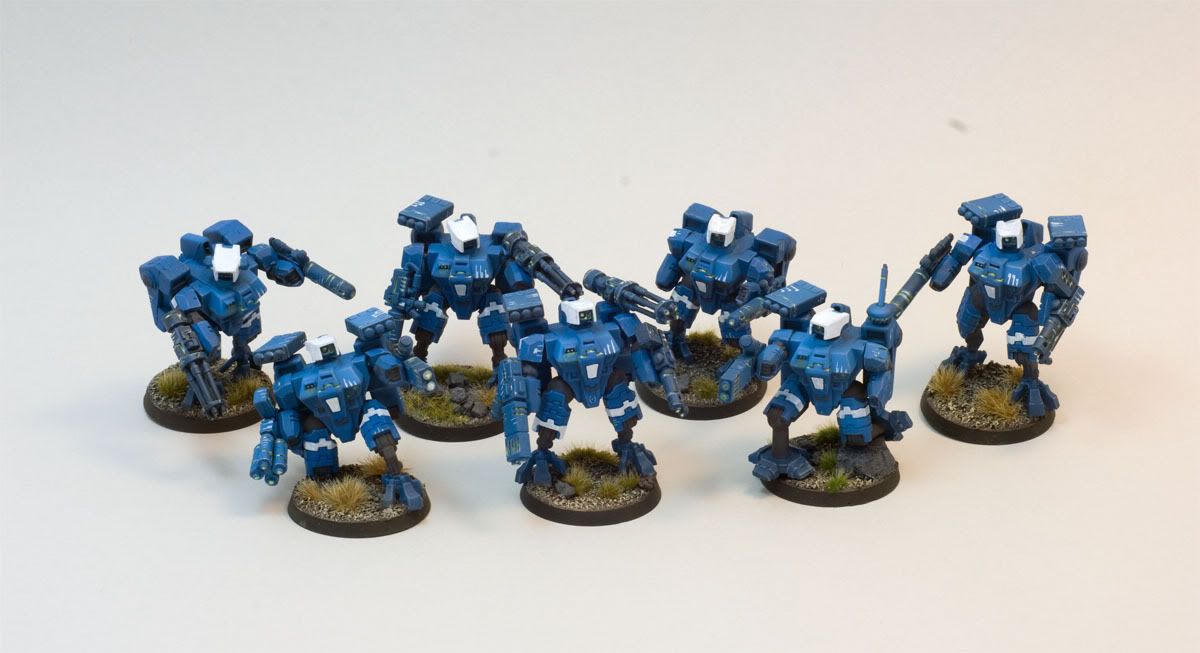
as far as I know most of the showcase-painters are not playing any tabletop game at all. Maybe I'm one of these lonely wolves who does! You probably inferred from my past postings about the mycetic spore that I'm a proud owner of a Tyranid army. My second army is an honorable force of the TAU empire.


In my two weeks of summer vacation I 'speedpainted' seven of my Crisis battlesuits. I bought those guys years ago on ebay. Already glued and ugly painted they vegetated as a memorial on the battlefield. Therefore I decided to strip the paint and re-arrange all legs and arms.

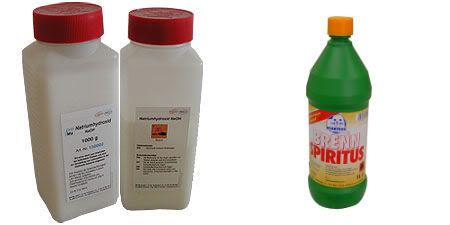
To strip the paint I used a mixture of denatured alcohol and sodium hydroxide. Both are rather cheap, easy to acquire and more or less safe to use in contrast to other alternatives like brake fluid. The sodium hydroxide is only solvable in the 5 % water part of the denaturated alcohol. Never ever solve the sodium hydroxide in pure water as this becomes a strong leach!


If you don't know what you are doing you are better to use products like airbrush cleaner from Revell to strip your plastic miniatures.

After the stripping I ripped all arms and legs from the miniatures. Sometimes an arm or leg was destroyed in this step which is always a problem if you buy already assembled miniatures in boring poses.

After the usual two-component priming (priming the kong-way) all crisis suits were pre-shaded with three shades of blue using my airbrush.

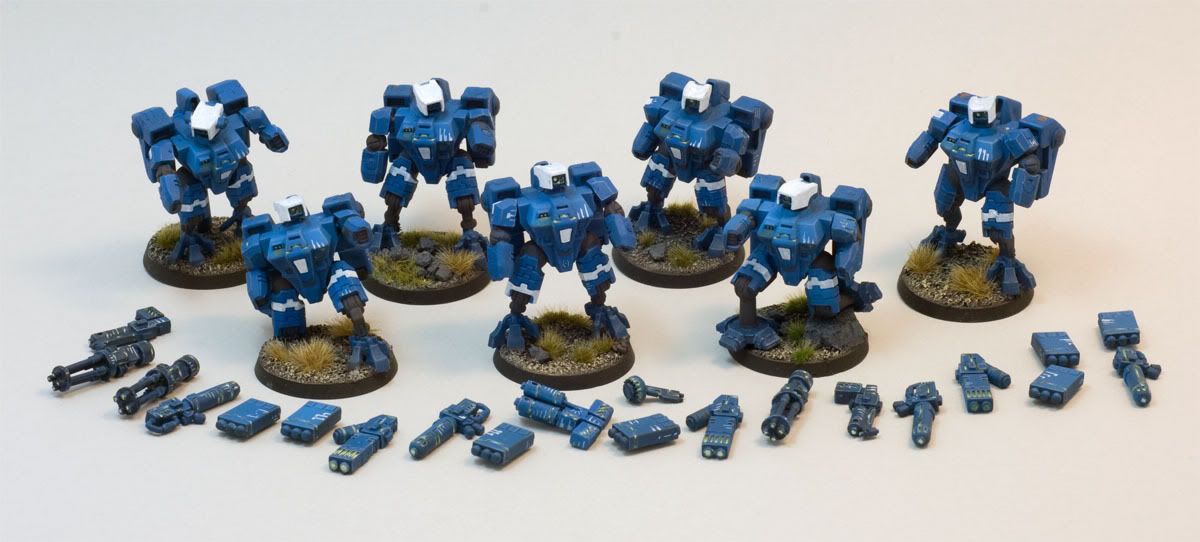
Then I added some tau'ish white markers on each suite, added some highlights with Shadow Grey and finished the weapons and suites with a plasma effect using only three colors (Catachan Green, Putrid Green, Skull White). No smoothing and no blending was done ... rather hard for a showcase-painter, but there is no other possibility to finish my army in an acceptable amount of time.


All crisis suites are equipped differently in most games of Warhammer 40.000, so I magnetized them as every other TAU player does.


I will never buy already assembled and painted miniatures from ebay again! In the end you don't save any money this way!

Regards,

Grumbler
Read more...

Wednesday, May 19, 2010

Mycetic Spore - Part 2

Heyho,


here is just a small update of the mycetic spore WIP. My new job drains all my power at the moment and there is not enough room for miniatures :-(.


Nevertheless I based the mycetic spore onto a self-made 5" round wooden base. I added some stuff found during a walk with my little daughter.


Regards,

Grumbler
Read more...
Thursday, May 6, 2010

Using Stewalin

Hey folks,


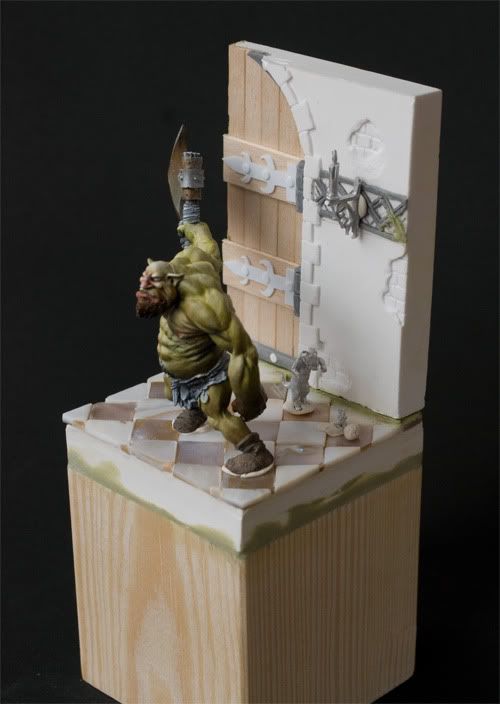
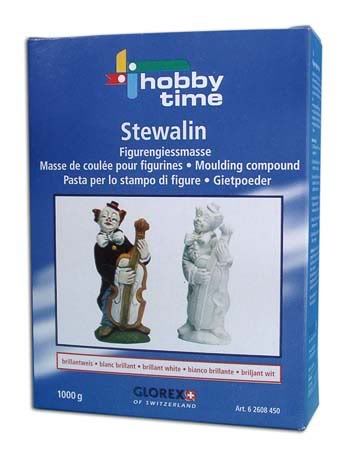
long time no news from me as I have started a new job a few weeks ago. Nevertheless I would like to show you how to use a plaster-like material called Stewalin to build a background for your showbase.


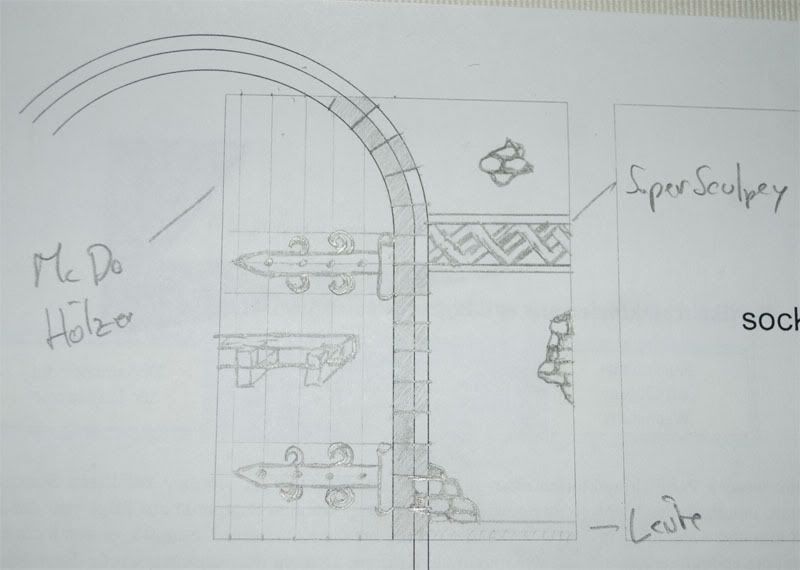
First of all you need a plan! It doesn't matter if your plan looks like the sketch of a 3 year old child like mine :D.


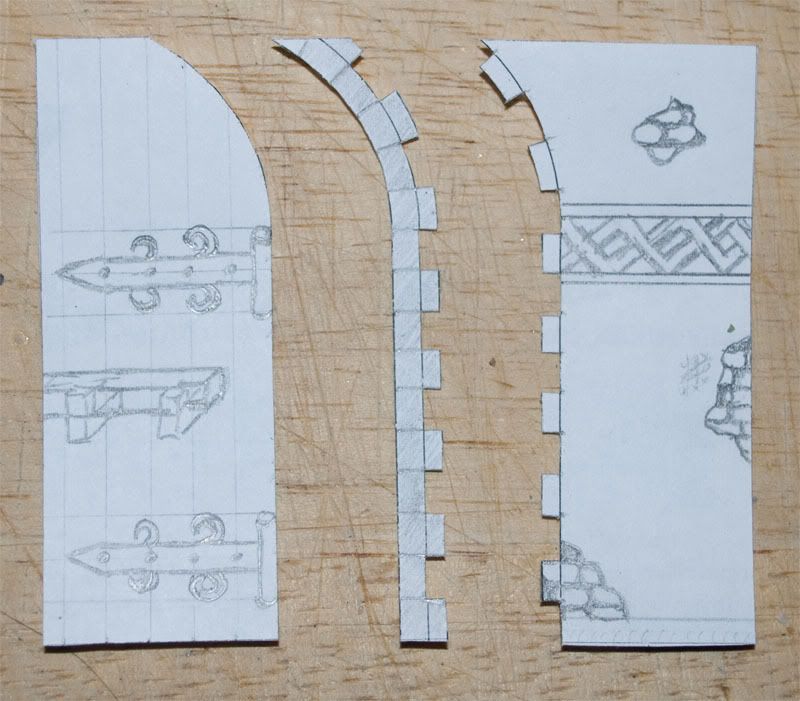
Cut the plan along lines of possible elevations to copy the parts onto plastic card.


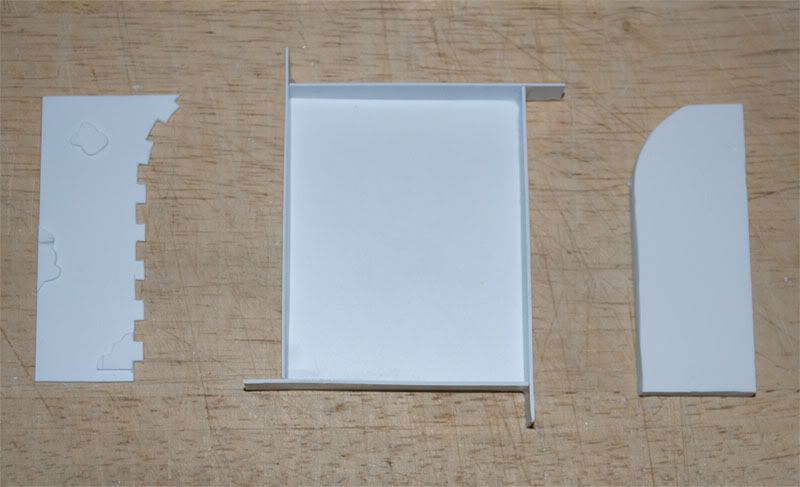
Cut the copied parts out of the plastic card. Keep in mind that the parts are the complements of the background details, so you add plastic card if you want a hole in your wall.


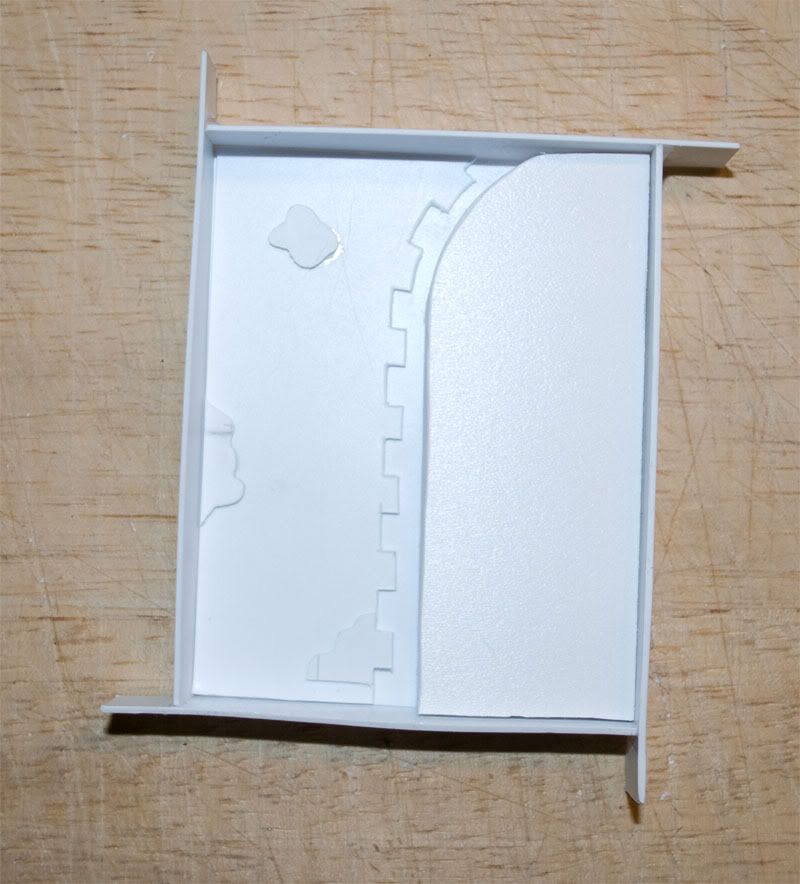
Put all parts into the assembled "curing box".


Mix Stewalin with the appropriate amount of water and fill the "curing box". Stewalin cures rather fast and has a very clean and flat finish in contrast to cheap plaster.


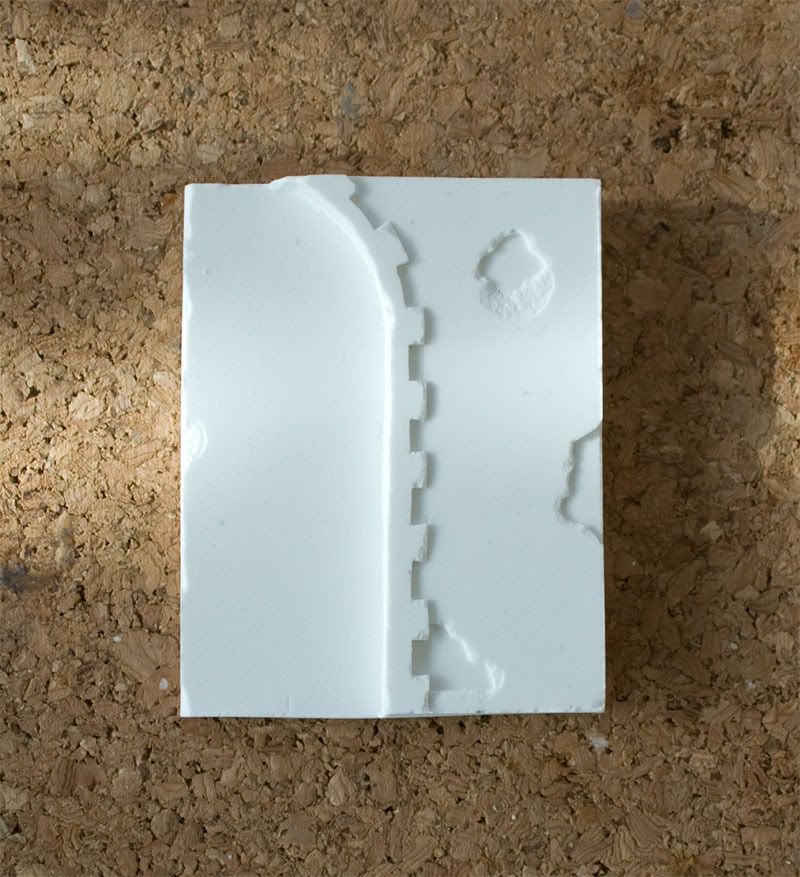
We get the following basic Stewalin wall for our showbase background.


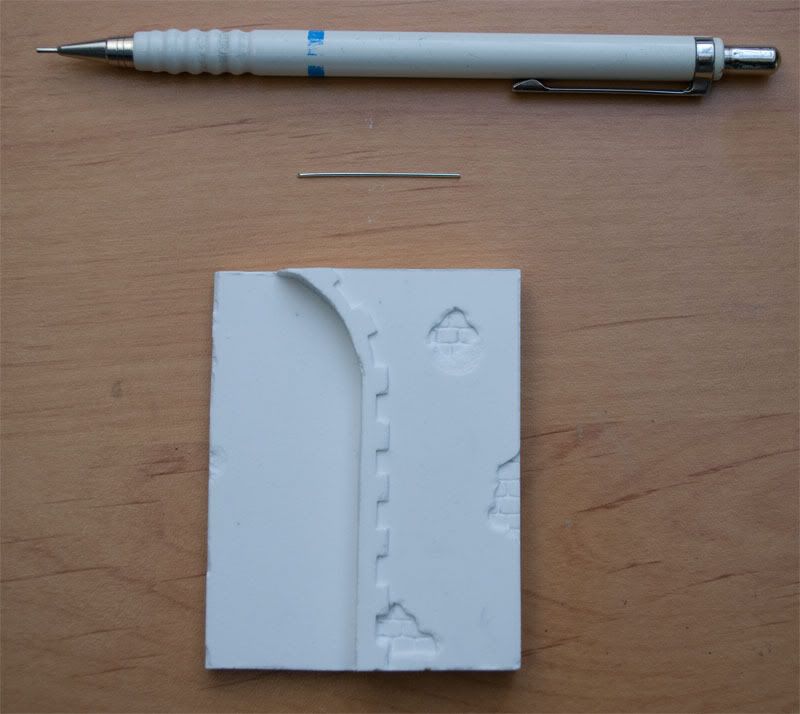
Add some further details using your favorite carving tool. Combining a mechanical pencil with some hard wire emerged to be really handy.


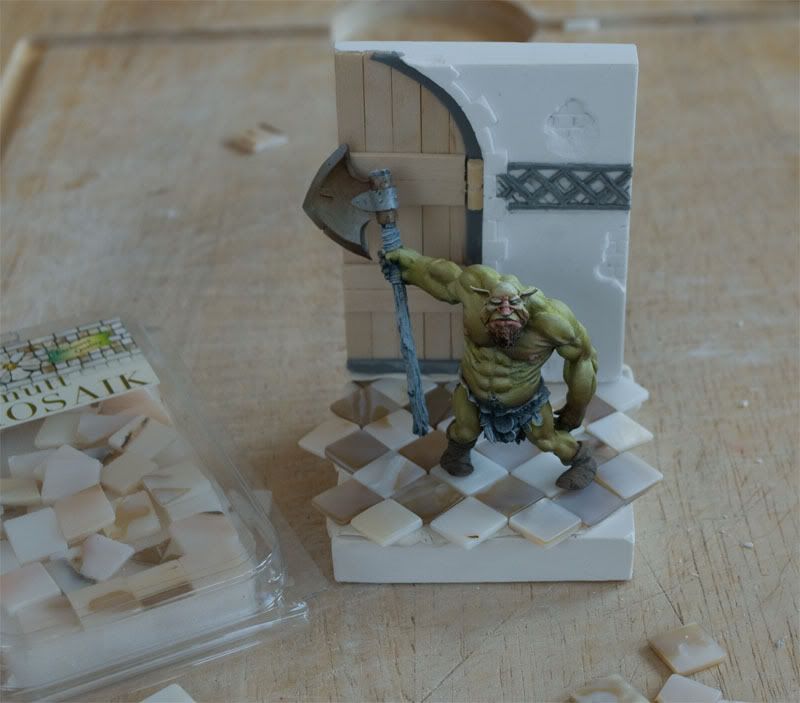
The basic wall is finished and you can apply further details like a door or whatever you like. Wooden cappuccino sticks from Mc Donalds are the ultimate, inexhaustible and free of charge source for all your miniature projects involving wood ;-).


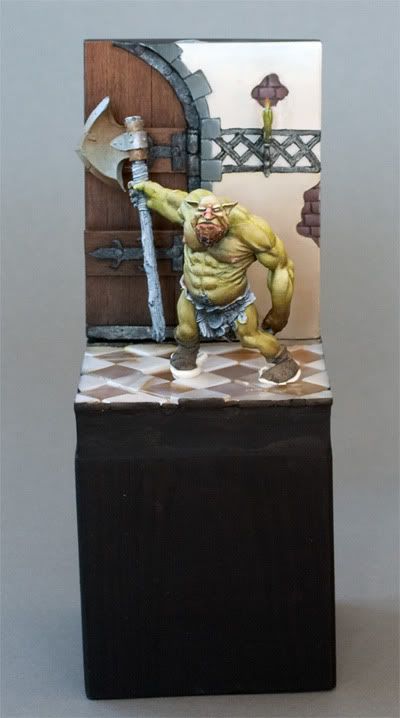
At the moment I'm not sure whether I will use this base for Maulg from Kraken or not, but here are some further WIP photos of the base.


Grumbler
Read more...
Labels

  © Blogger templates 'Neuronic' by Ourblogtemplates.com 2008

Back to TOP